
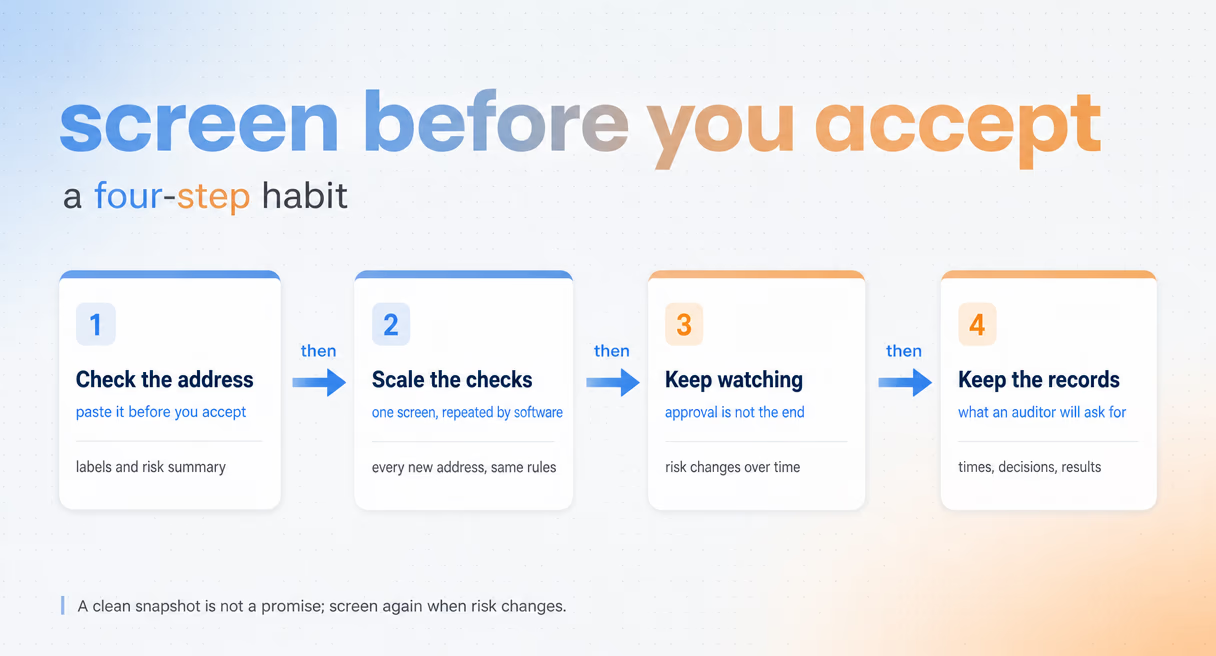
Step 1: Check the Address Before Onboarding
Start with one address and one check. Register on the BlockSec site, spend one of your three free monthly checks on the address, and read the five level rating that comes back in seconds: none, low, medium, high, or critical. Then let your written policy, not your mood, decide what that level means for this customer.
The scan is the easy half. The discipline is in the decision rules: write down, before you start, what your team does at each level. A common shape is accept at none and low, review at medium, and reject or escalate at high and critical, but the right shape depends on your risk appetite and your regulator. The tool provides the rating; the policy provides the judgment.
| Rating | A common policy response |
|---|---|
| None or low | Accept the wallet and keep monitoring |
| Medium | Review before deciding |
| High or critical | Reject or escalate |
This order matters because the first screen is the cheapest one you will ever run on this relationship. Before funds move, before the user has a history with you, and before a wrong acceptance turns into a dispute, you get one clean look at what the address has done. The Financial Action Task Force frames this as the risk-based approach: the depth of your checking should track the risk in front of you.
The check sits beside identity checks, not behind them. KYC answers who the person claims to be; the address screen answers what their wallet has been doing. Running only the first and skipping the second is how a platform ends up with fully identified customers depositing from wallets tied to theft. Both checks happen at the same door, on different evidence.
Step 2: Scale Checks with the API
When the daily count of checks grows past what one person can do well, move the check into your pipeline. Batch screening endpoints take whole lists of addresses, an API key authenticates the calls, and the same five level ratings come back as structured results your system can act on without anyone copying anything.
The trigger for this step is not a magic number; it is the first time a check gets skipped because there was no time for it. That day is the day manual screening has stopped being a control and started being a hope. The API route also standardizes the output, which matters for the records step at the end.
Before the build, three questions settle the design. How many checks per day are we actually running, at peak rather than average? Where do the results land, in the customer record, the ticket, or a separate log? And who owns an exception when the pipeline marks a deposit for review? Answering these in week one prevents the two standard failure shapes: a screening job nobody looks at, and a review queue nobody owns.
The integration details, from endpoints to rate limits, are laid out in Automated Address Screening: APIs, Webhooks, and Alert Channels. One planning fact worth repeating here: API access sits on the Scale and Enterprise plans, so confirm that before your build depends on it.
Step 3: Set Up Monitoring After You Approve
Approval is where most teams stop, and it is exactly where monitoring should start. A wallet that screens clean today can receive stolen or sanctioned funds tonight. The addresses you accept go onto a watch list, and risk level changes push alerts to the channels your team actually reads.
The risk-based approach that starts your workflow also expects it to continue: OFAC's recent actions update on their own schedule, and an address can join a list long after it joined your platform. The event that matters is a risk level change on an address you already approved, delivered with the before and after levels and a timeline of what happened.
The full story of why a clean wallet turns risky, with the mechanics of label updates and new activity, is its own topic: Can a Crypto Wallet Become Risky After Being Clean?. What belongs in this manual is the habit: every accepted address gets watched, and every alert gets a decision, even if the decision is to keep watching.
Match the channels to the team rather than the other way around. A compliance team that lives in a group chat should get the alert there; a team with a rota should see the alert land in the tool the rota watches. What matters mechanically is that the before and after levels arrive together with the timeline, so the person deciding does not have to reconstruct why the level moved.
Step 4: Keep Records That Survive an Audit
Every check, every approval, and every alert response leaves a record: the address, the date, the input, the rating, and the reason for the decision. Kept together, they turn a regulatory question from reconstruction into retrieval, and they let your program improve because you can finally see what it has been doing.
The bar to aim for is simple to state. When an examiner asks why you allowed a deposit six months ago, someone on your team can answer in minutes, with the evidence that was current at the time. Risk timelines and alert histories do most of the assembly work, since they capture what the screen saw and when it saw it.
A useful rehearsal: once a quarter, pick one accepted wallet at random and ask the examiner's question out loud. Why did we take this deposit? If the answer takes minutes, drawn from the records as they stand, the program works. If it takes an afternoon of reconstruction, the gap just showed itself while it is still cheap to fix.
Records also close the loop on suspicious cases. When activity crosses the line from risky to reportable, the file you have been keeping becomes the backbone of a suspicious activity report. The standards for those reports, set by the FATF framework, connect your workflow to the reporting layer covered in How to Write a Crypto SAR or STR.
The whole four step shape, one page with no scrolling, is mapped in the wallet screening hub, alongside the automated route for teams whose volume arrived last month.